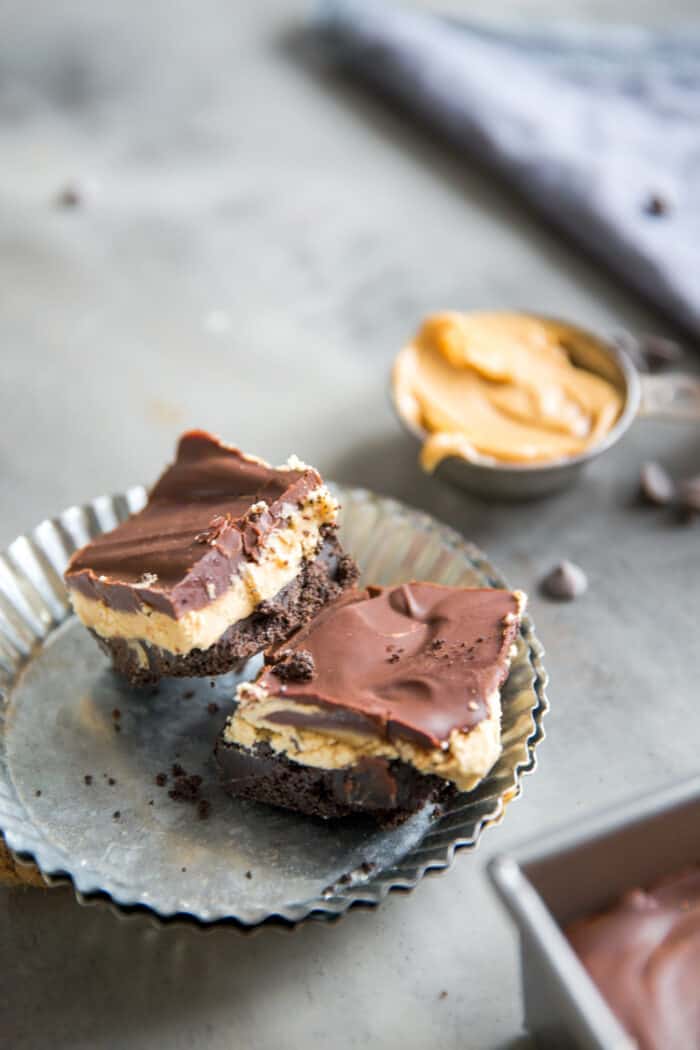
These no-bake peanut butter bars have the flavor of my beloved Buckeye Balls! A chocolate cookie crust is a base while creamy peanut butter layer and chocolate finish out the layers!
I love making Buckeye Balls for the holidays! I usually make a double or a triple batch just for our little family of five. I feel like I have perfected my recipe; they are so rich and so creamy…they totally melt in your mouth (I really should share the recipe with you all).
The problem is I make so many and then we eat so many that by the time December 25th finally rolls around, we can’t bear to look, smell, taste or touch another Buckeye Ball.
While they are something I could make and eat in the spring or summer months, it somehow seems wrong. It would be like putting up your holiday decorations in March… it is just not done.
Peanut butter and chocolate are classic pairs and they are a pair I wholeheartedly adore (for proof, check out these chocolate cupcakes with peanut butter frosting, these Peanut Butter Rice Krispie Treats, or this Peanut and Cola Cake). A great way to get a quick fix is to make these No-Bake Peanut Butter Bars!
What Are No-Bake Peanut Butter Bars
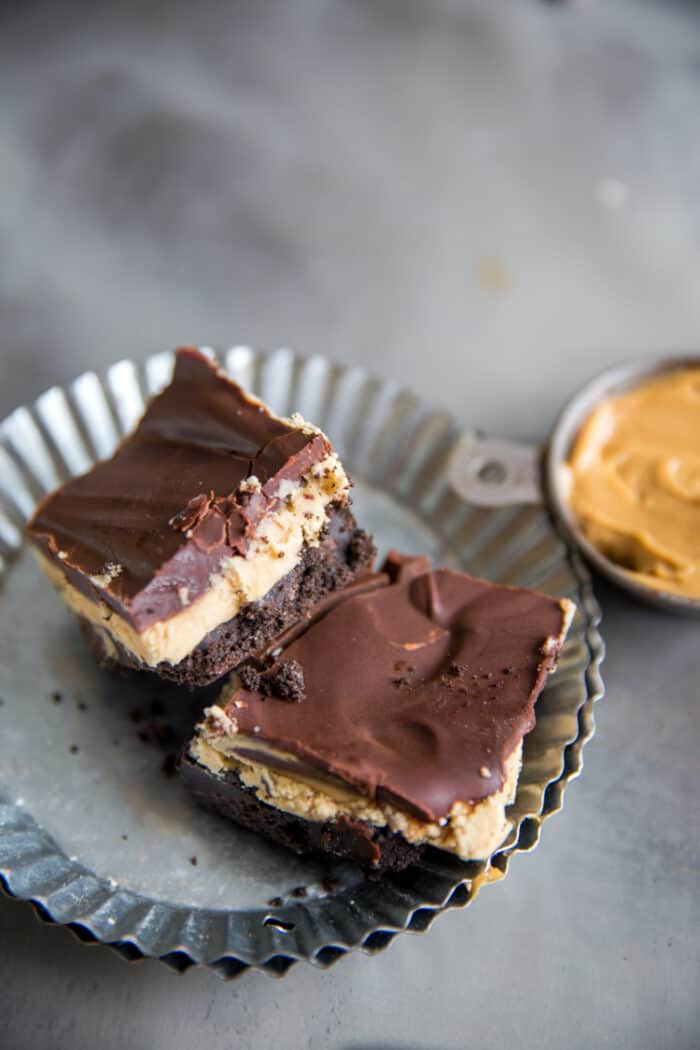
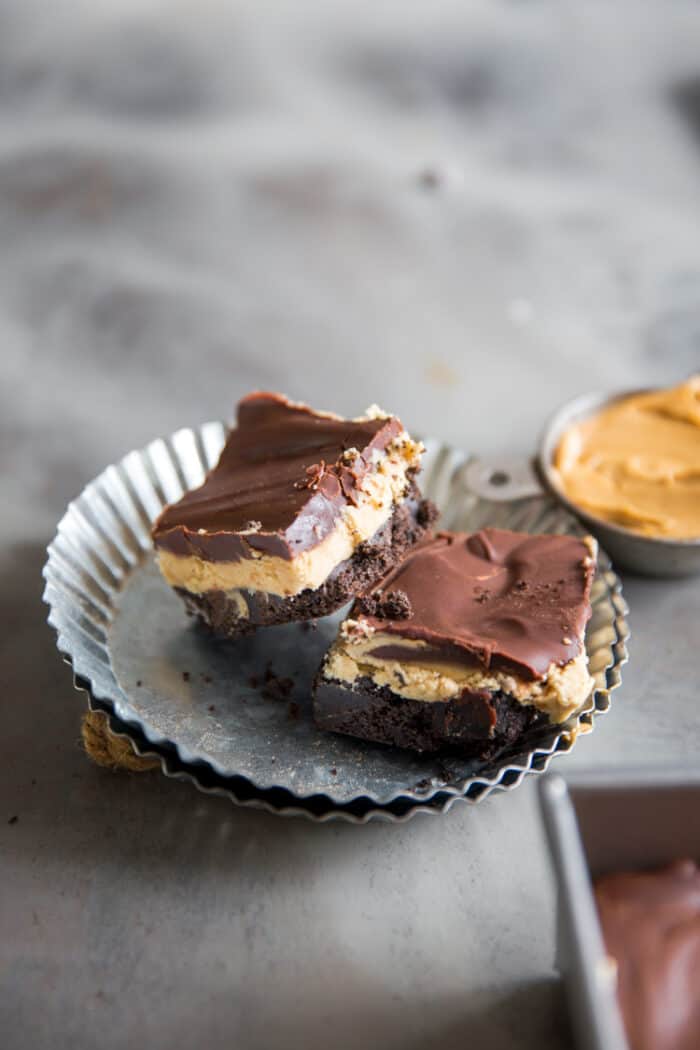
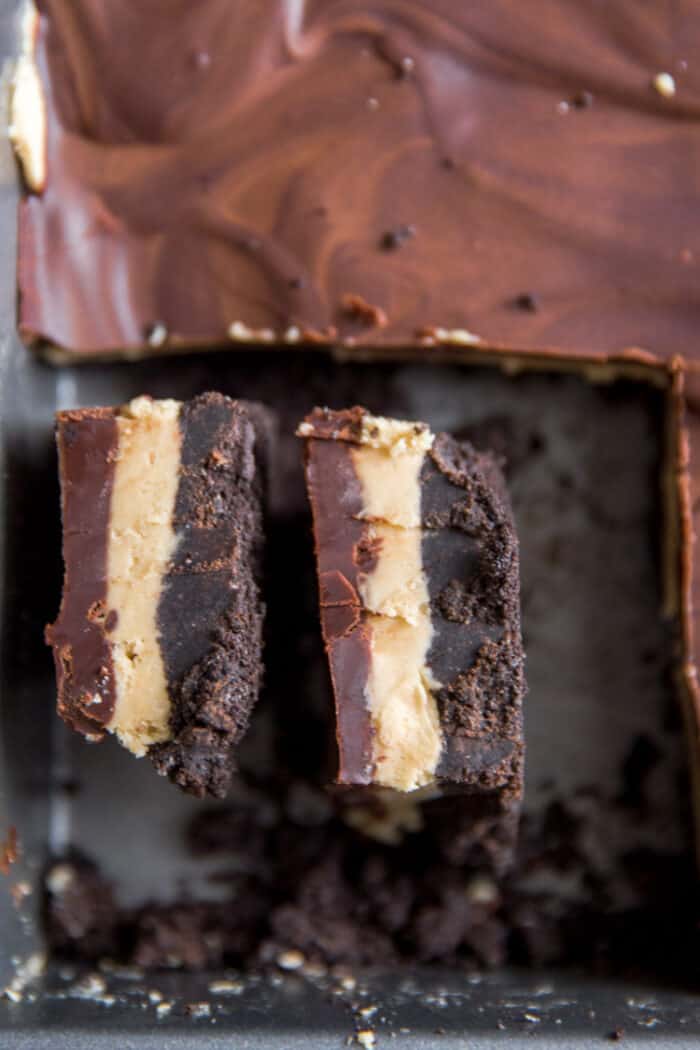
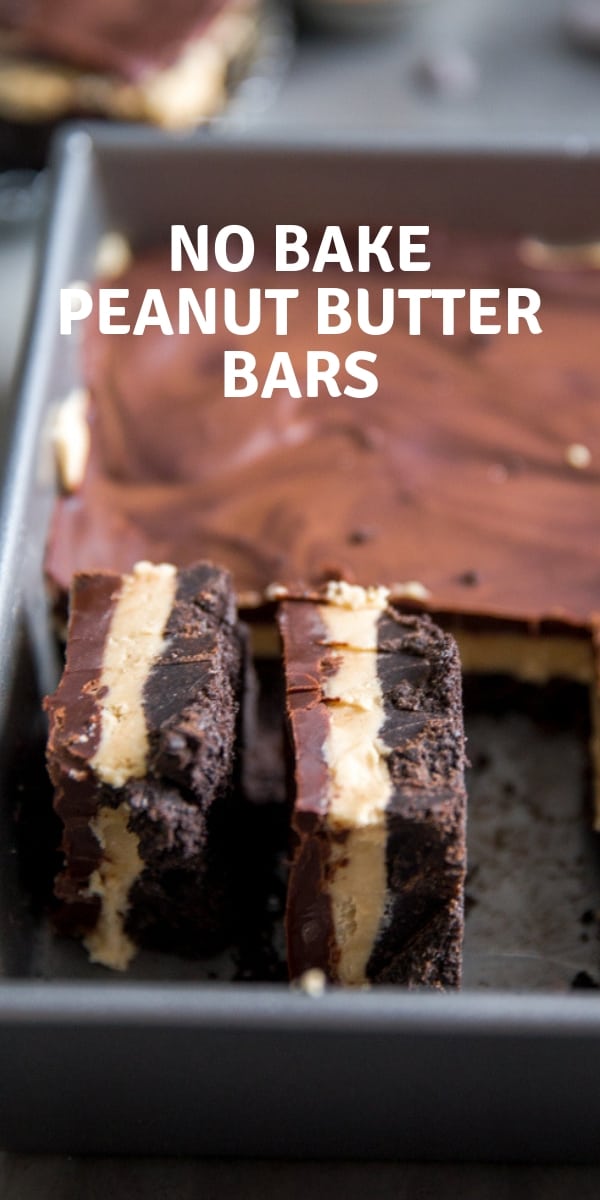
No-bake peanut butter bars that consist of 3 layers; a cookie crust, a creamy peanut butter layer, and a velvety chocolate layer. None of the layers are complicated and none require that you turn on the oven!
How To Make No-Bake Peanut Butter Bars
This recipe starts by preparing your cookie crust. I chose to use Oreo Cookies that I pulsed into fine crumbs with my food processor. But chocolate wafer cookies or chocolate graham crackers will work just as well.
In a saucepan, melt together butter and chocolate chips (semi-sweet chocolate chips are fine) until smooth. Remove from heat and stir in chocolate wafer crumbs. Press the crumb mixture into the bottom of a 9-inch baking pan. Place crumb layer in the fridge while you prepare the peanut butter layer.
For the peanut butter layer, beat together butter, vanilla, and peanut butter until creamy. Gradually beat in powdered sugar until combined. Spread the peanut butter mixture over the cookie crumbs. Place the pan in the fridge once again while you prepare the chocolate topping.
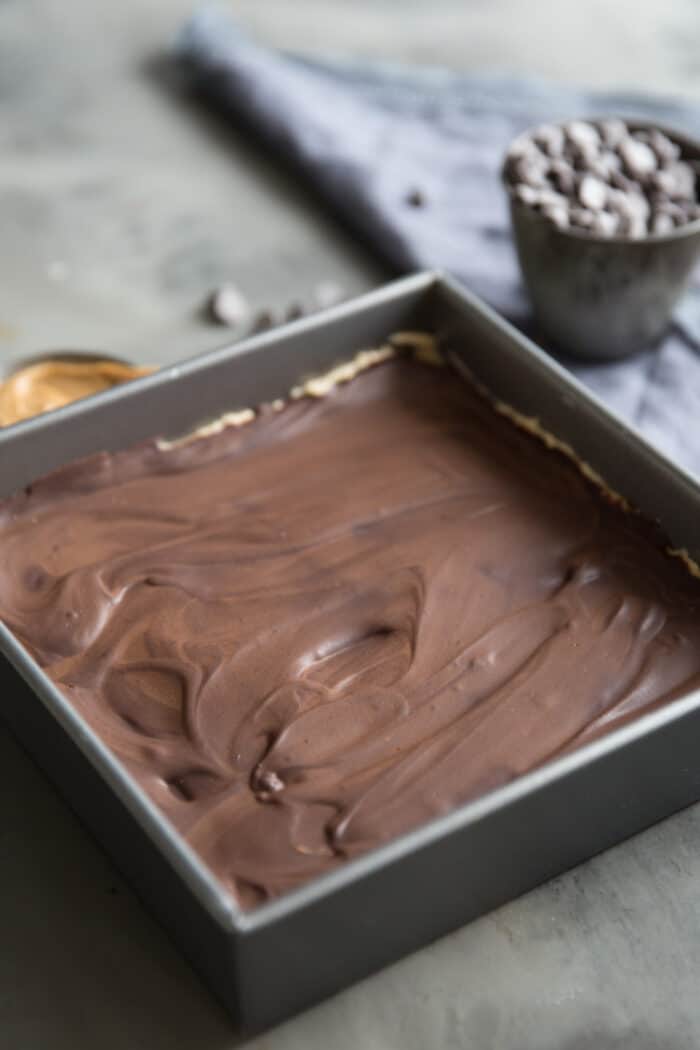
In a small saucepan melt more chocolate and butter together until smooth then pour over the peanut butter layer. Allow the peanut butter bars to set in the fridge before cutting into squares.
Can You Freeze No-Bake Peanut Butter Bars?
Yes! These bars freeze remarkably well. Once the bars have set and have been cut into squares, cover the pan with plastic wrap and foil and freeze the bars for 1-2 months.
When needed, simply allow the bars to thaw to room temperature.
How To Take Your No-Bake Peanut Butter Bars To The Next Level
- Top your chocolate peanut butter bars with chopped peanut butter cups.
- Make No-Bake Peanut Butter Bars with White Chocolate
- Make No-Bake Peanut Butter Bars with Rice Krispies stirred into the peanut butter layer for a surprising crunch.
- Stir in chopped peanuts into your peanut butter layer.
- Stir broken up pretzel pieces into your peanut butter layer.
- Top your bars with a mix of peanut butter and semi-sweet chocolate chips!
If you are a fan of Reeses Peanut Butter Cups or of buckeye balls like myself, then you have to make these bars asap! This is an easy dessert that is appropriate for any occasion and for any season! Plus, you cannot beat a no-bake recipe!
More Chocolate and Peanut Butter Recipes:
Chocolate Peanut Butter Explosion Cookies
Chocolate Peanut Butter Sandwich Cookies
Chocolate Peanut Butter Brownies
Reese’s Peanut Butter Caramel Bars
Salted Caramel Peanut Butter Pie
No Bake Peanut Butter Bars
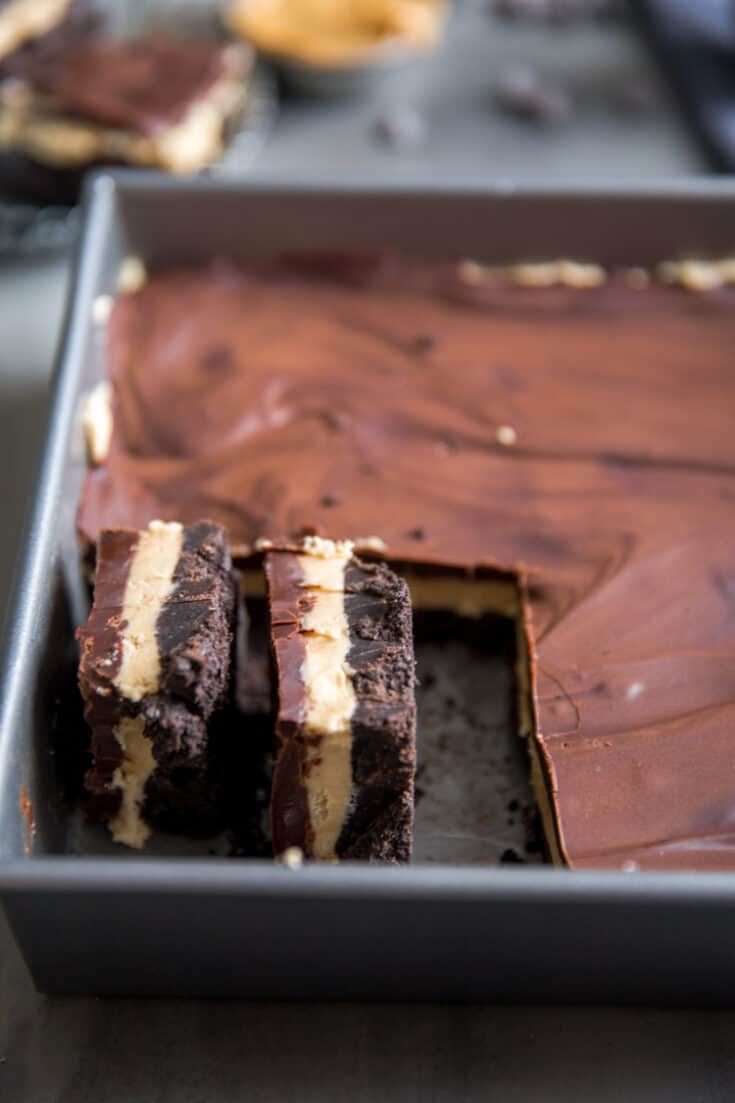
These no-bake peanut butter bars have the flavor of my beloved Buckeye Balls! A chocolate cookie crust is a base while creamy peanut butter layer and chocolate finish out the layers!
Ingredients
- ½ cup butter
- 1 10 oz bag semi-sweet chocolate chips
- 2 cups Oreo cookie ( pulsed into crumbs)
- ¼ cup butter softened
- 1 tablespoon milk
- ½ cup creamy peanut butter
- 1 teaspoon vanilla
- 2 cups powdered sugar
- ⅓ cup butter
Instructions
- Lightly grease a 9-inch square pan with shortening or cooking spray.
- In 2-quart saucepan, melt 1/2 cup butter and 1/4 cup of the chocolate chips over low heat, stirring constantly. Remove from heat. Stir in cookie crumbs until well mixed; press evenly in pan. Refrigerate until firm, about 10 minutes.
- Meanwhile, in a small bowl, beat 1/4 cup butter, the milk, vanilla and peanut butter with electric mixer on medium speed until well mixed. On low speed, gradually beat in powdered sugar until smooth.
- Spread peanut butter mixture evenly over crumb mixture. Refrigerate while you prepare the chocolate layer.
- In 1-quart saucepan, melt remaining chocolate chips and 1/3 cup butter over low heat, stirring constantly; spread evenly over peanut butter mixture.
- Refrigerate until chocolate is set. Cut into squares.
Nutrition Information
Yield
24Serving Size
1Amount Per Serving Calories 286Total Fat 18gSaturated Fat 9gTrans Fat 0gUnsaturated Fat 8gCholesterol 22mgSodium 166mgCarbohydrates 31gFiber 2gSugar 23gProtein 3g
wilhelmina says
Holy Moly! These bars are so delicious, I didn’t want to share!
Sylvia says
Mercy, these are decadent and delish, give me more! First time I tried them and now will be a favorite, no small feat, I’m an old fussy long time baker. My sweet tooth has discovered nirvana.
Tanya Schroeder says
Sylvia, I am so happy to hear this! You cannot go wrong with chocolate and peanut butter!
Lynda Wright says
Is the two cups of Oreo cookies measured as cookies or as crumbs?
Tanya Schroeder says
Lynda, it is cookie crumbs, I will make that clearer in the recipe, thank you!
rebecca Turner says
Do you use the frosting too?
Mjo says
These bars turned out exactly like the pitcher. Absolutely wonderful – I did have a problem with the layers not sticking together. The chocolate layer was coming off the top And even the bottom was separating. Perhaps my bars were too cold. Any recommendations how they will stick together better.
Cme says
I know this is years late, but if you do not refrigerate between layers, they should not separate.
Linda Rowles says
Is the nutritional information really for 24 servings from a 9×9 pan? Also should I separate the oreo “stuffing” from the biscuits before pulsing?
Kirsten Naab says
These were awesome! I made them gluten free by using Gluten-free Oreos, dairy free by using Country Crock plant-based butter and dairy free chocolate chips, and peanut tree/nut-free by using Wowbutter soynut butter. As you can tell, we have a lot of food allergies in our family, but this recipe was very easy to make safe.
Tracey says
I don’t have Oreos, could you use graham crackers?
rebecca says
Do you use the stuffing in the oreos?
Ivy Poll says
Beware. I followed the recipe as written and sent them off to our church’s youth event. My daughter returned with a pan of the crumb crust. The peanut butter layer did not adhere to the crust🤷🏻♀️
Cme says
Do not refrigerate between layers. Also, use parchment paper on the bottom. Then you just pull the whole thing out and slice. Have the paper hang over the edge for easy lifting.